Showing posts with label easy. Show all posts

Thursday, 29 October 2015

Fruit Leather Snacks

When I was little I used to love going to the health food store with my mum on Saturday mornings. They used to sell these little fruit leather snacks and we used to go with the intention of stocking up for the week's lunch boxes. They rarely made it to when we got home, let alone through the week for our packed lunches. I decided to experiment the other day as I had a load of apples left (they were on offer and I couldn't resist buying 3 kilos of them!) so made up a big batch of apple compote. I put the oven on as low as it could go, spread it over a square silicone cake mould and hoped for the best. This was the result! 


Ingredients

4 apples
1 tsp cinnamon 
100ml water

Method

1. Peel, core and chop the apples into small chunks (around 1cm).
2. Put into a saucepan over a low heat with the cinnamon and water and simmer gently until the apples are soft and starting to go mushy.
3. Using a hand blender, mush the apples until they're blended and resemble a smooth sauce.
4. Cool the sauce and spread over a silicone baking sheet. You need something square or rectangular thats shallow to be able to spread it thinly. You want to get it as smooth as possible and only about 1 or 2 mm thick. Thin and smooth is all that matters.
5. Bake for about 6 hours on the lowest setting on your oven. If you leave it in too long you'll end up with an apple crisp rather than soft leather strips. 
6. Leave to cool then cut into strips with scissors. 

Tips

- Try using other fruit in with the apple such as strawberries or pears.
- Roll them up into little rolls to make them fun for kids to eat. 
- Use a cookie cutter to cut them into shapes for kids. 
- Try making some applesauce with no cinnamon. Take out a small amount of the cooled sauce and add the cinnamon to that. Pipe it in diagonal lines across the spread out apple sauce on the tray to give a stripy effect. Bake as normal and you'll have stripy fruit leather! You could also make a cinnamon free apple sauce and pipe the lines in a strawberry compote to make it multicoloured and stripy. Play around with it! It's so simple and is inevitably delicious so even if it doesn't look like it'd win any beauty pageants, it'll sure taste delicious! 

Enjoy! 

Tuesday, 6 May 2014

Simple Genoese Sponge

While deciding what sponge to use as the base of a birthday cake, I did a bit of experimentation. I've never made a Genoese sponge before so decided to give it a go. Overall it was quite simple and the cake was light and really spongy. It's not dense enough to support the weight of the fondant I'd need to cover it with for my birthday cake but it makes a really nice light sponge for making a cake for afternoon tea or something. I topped it with lemon curd and fresh blueberries but you really could use anything. There's only one of the two layers in the photos because half of it was eaten warm from the oven with Nutella and custard. That's less sophisticated but so so tasty! 


Ingredients
50g melted, cooled butter
120g plain flour
Pinch salt
4 eggs (if you can, use duck eggs or substitute one in for a hens egg)
120g caster sugar 

Method
1. With a little of the melted butter, grease two sandwich tins.
2. In a bowl over hot water, whisk the eggs and sugar with an electric whisk for about 10 minutes until thick, pale and creamy and at least tripled in size.

3. Remove from the heat and fold in the flour in two batches, followed by the butter. 

4. Divide between the two tins and bake for 20-30 minutes at 170 degrees Celsius until golden and a skewer inserted into the middle comes out clean. 

To finish top with lemon curd and fresh blueberries and then dust with icing sugar. I did take a picture but it seems to have vanished from my phone while all the rest have stayed... mystery! It's really versatile so you really could top it with whatever you wanted. My brother wanted a Nutella one so instead of having two layers of sponge I had one of the cakes topped with lemon curd and blueberries and the other with Nutella and fresh strawberries. Give it a go! 

Tips
-Use a much bigger bowl than you think you need for the eggs and sugar- you'll be surprised how much the mixture expands! 
-Don't be impatient with the whisking - it'll go really thick and creamy and leave a trail when you pull the beaters out of the mixture. 

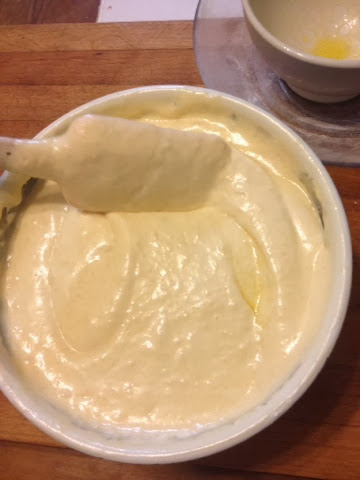
Almond, Berry and Seed Breakfast Muffins

I saw a recipe somewhere for muffins like these but decided to tweak them a bit. They taste really good and they're way better for you than the muffins you buy from Starbucks on days when you're running too late for breakfast. I made a full batch of 12 then froze some so that when I needed to take one with me I just took it out of the freezer and by the time I got hungry it had thawed out. They keep for a couple of days in an airtight box anyway as they're full of fruit. They're so simple to make and even trick you into thinking you're eating real cake! They also only take 30 mins start to finish and 25 of those are when they're in the oven!

Ingredients
1 cup self-raising flour
1 pot (about 280 ml) buttermilk
1 cup ground almonds
2/3rds cup caster sugar (or muscavado unrefined sugar if you have it)
3tbsp seeds (I used half chia seeds and half flax seeds, Amazon sells them cheap)
1 large egg
1/4 cup olive oil
1 cup berries (I use frozen mixed berries) 
1 tsp cinnamon
1/2 tsp nutmeg

Method
1. Put all the dry ingredients in a bowl.
2. Mix the oil, buttermilk and egg in a jug.
3. Add the wet to the dry ingredients and mix until incorporated.
4. Fold through the berries.
5. Divide between 12 muffin cases in a cupcake pan.
6. Bake at 170 degrees Celsius for about 25 minutes until a skewer comes out clean when inserted.
7. Leave to cool on a wire rack. 


Tips
- I topped mine with a sprinkling of porridge oats before baking to give some extra crunch to the top
- Use wholemeal flour if you want them to be even healthier
- Try mixing it up with different fruits and seeds as they're really versatile! Pumpkin seeds and apricots would be amazing... you could even add some white choc chips if you wanted them to be a little bit naughty!! 

Happy baking :) 

Wednesday, 8 January 2014

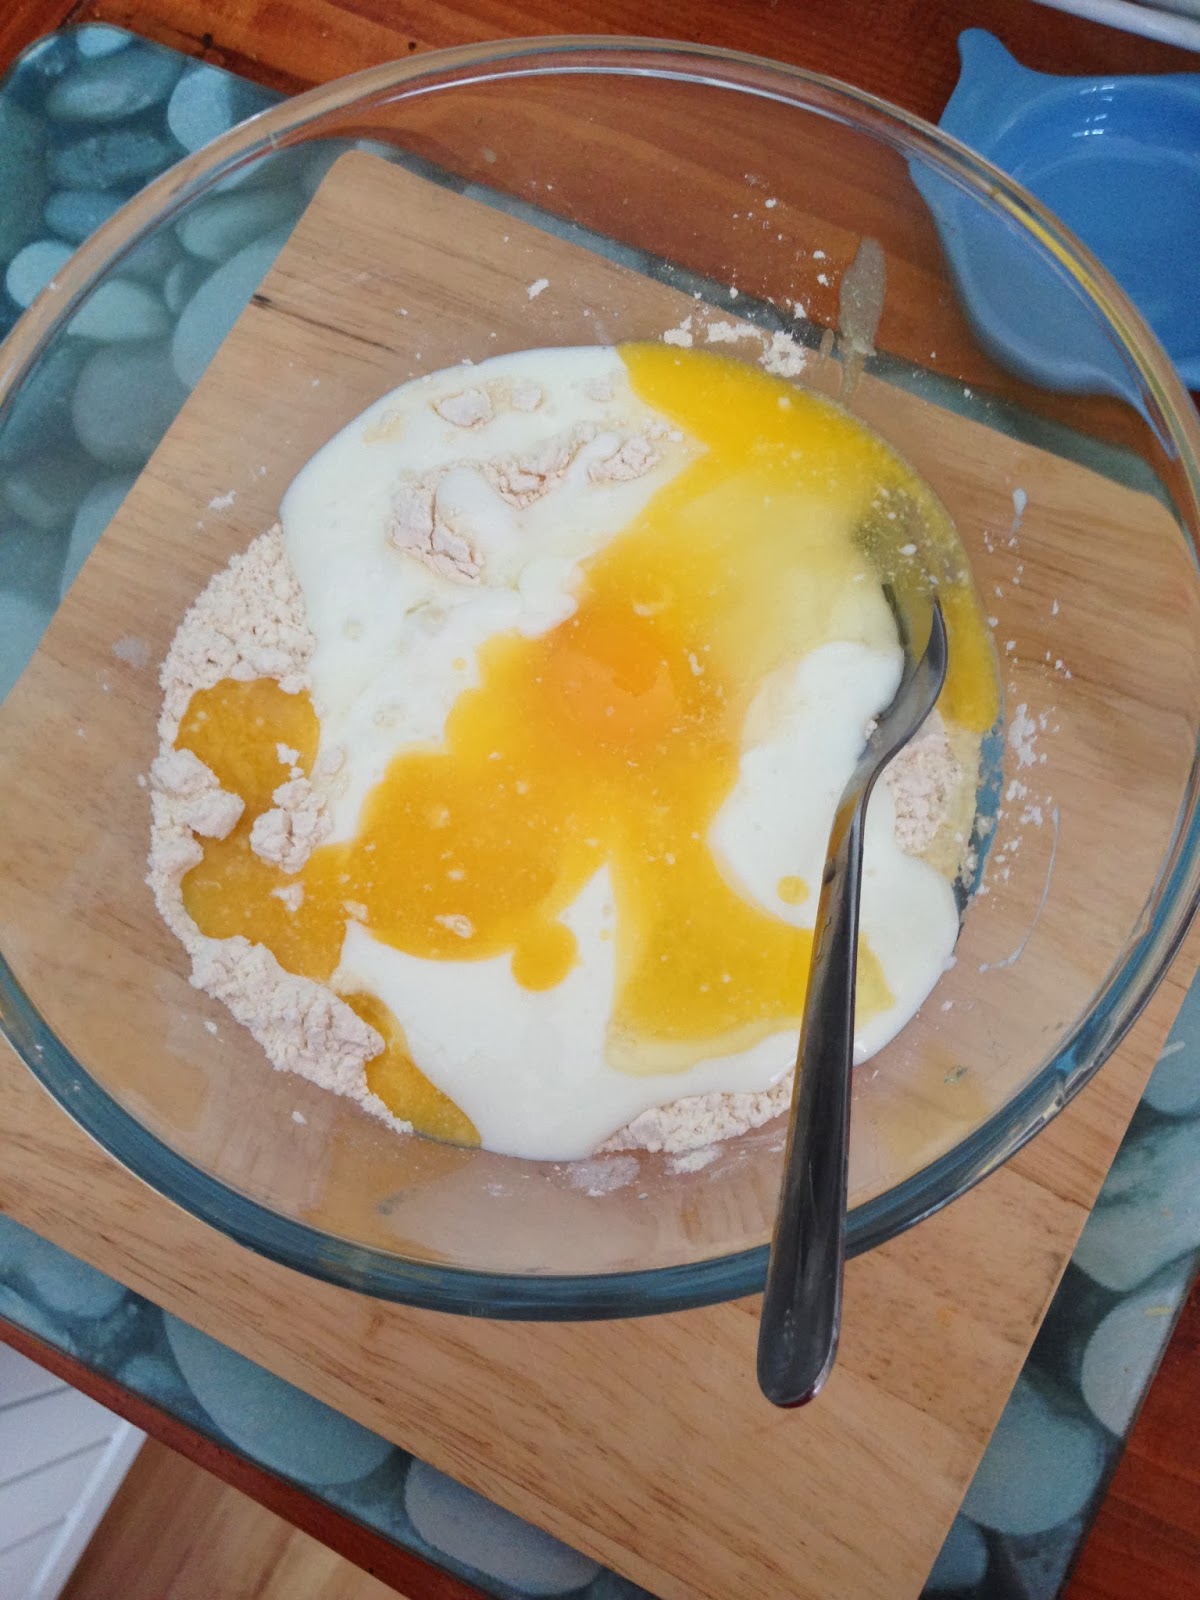
Blueberry Buttermilk Pancakes

I made these for breakfast for my mum when we went on a weekend away to West Wales. I had to wing it as I didn't have scales or a whisk but if they turned out as well as they did despite that, then having the right tools will only increase the chances of this being an idiot-proof recipe! They're really simple and taste really good. I serve them in a big fat stack with lots of maple syrup. They're best eaten straight out of the pan but I've also microwaved them after they've cooled when I'm ready for round two!
 
Ingredients
1 punnet blueberries
5 heaped tablespoons plain flour
1 pinch salt
1 egg
1 pot of buttermilk (about 254ml I think)
2 tbsp melted butter
1 tsp salt
1 tsp bicarb
 
Method
1. Mix the dry ingredients together in a bowl.
2. In a jug or small bowl, stir the wet ingredients together with a fork.
3. Add the wet to the dry ingredients and mix until combined.
4. Over a low heat, dollop in tablespoons of the mixture. Top each blob of batter with some blueberries.
5. When the tops of the pancakes bubble, flip them over.
6. Eat hot with lots of maple syrup!
 

Tips
Don't have your pan too hot as the outsides will cook really fast and you'll have raw dough in the middle. They're fine to take their time over a low heat. If you do happen to have them undercooked, blast them in the microwave for 30 seconds and they'll be cooked throughout.


Chocolate and Chestnut Meringue

I made this instead of traditional Christmas desserts this year. I know it can be considered blasphemous but I don't really care. I'm not a massive fan of raisins so Christmas cake and pudding really do nothing for me. I'd never tried chestnuts before and Waitrose had tins of chestnut puree on offer so I decided to get one and try something with it. I think they're an acquired taste despite not being too flavourful and overpowering but with the addition of chocolate went down very well indeed!

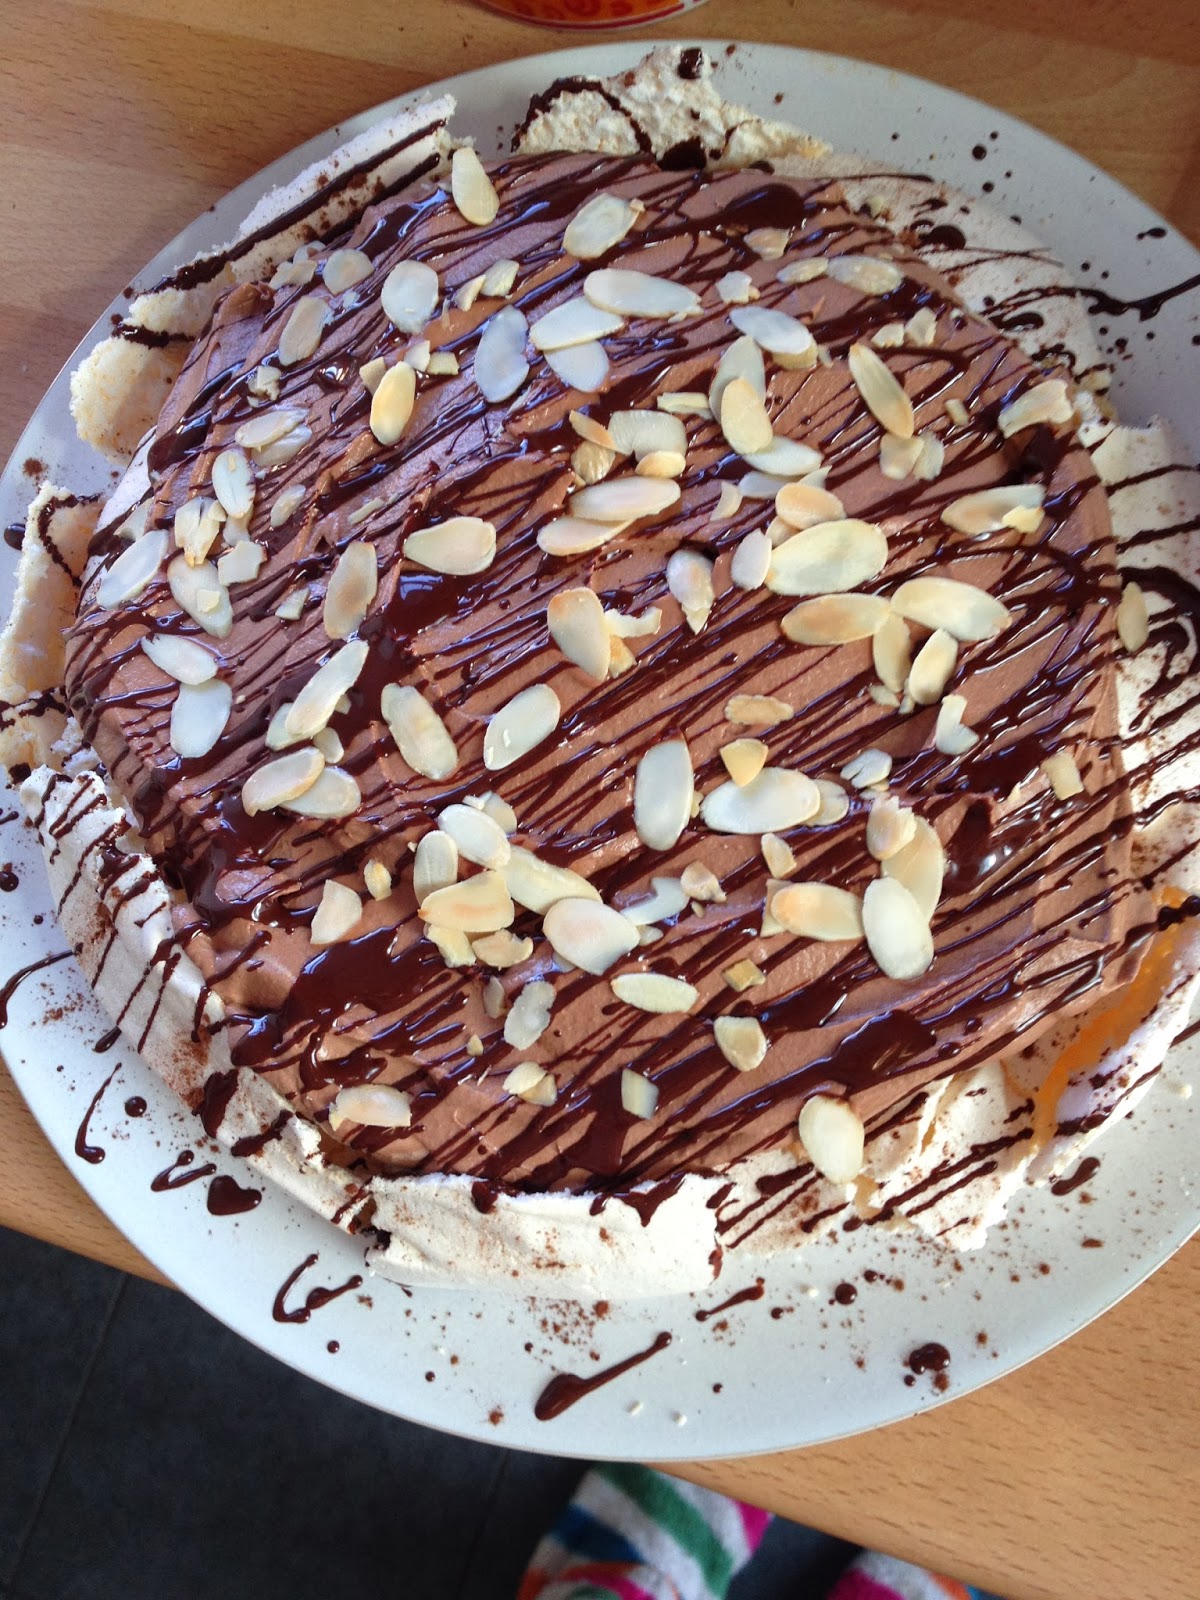
This is the finished result. Not bad for a bit of experimentation eh?! It's a simple meringue base with a chocolate and chestnut cream, topped with toasted almonds and drizzled with chocolate. I can't remember exact quantities as to be honest, I didn't measure anything! It was all just a bit of judgement and chucking a few things together and seeing what happened.
 
Ingredients
6 egg whites
350g caster sugar
Pinch of salt
 
1/2 tin chestnut puree
Large tub of double cream
Icing sugar to taste (a few tbsp)
200g good quality dark chocolate
100g good quality milk chocolate
Small handful toasted flaked almonds
 
Method
1. Start by whisking the egg whites in an electric mixer with a pinch of salt. When they form soft peaks, add in the sugar a tablespoon at a time with the mixer running. When you have a firm, glossy meringue, stop mixing.
2. Spread the meringue out in a large circle on some baking paper. I did this freehand and just got it as circular as I could but if you're not too good at it draw around a plate on the reverse of the baking paper to give you a guide.
3. Bake at 140 degrees Celsius for 45 mins to an hour until firm and then turn the oven down to about 80 and leave it in there for about another hour to cook through. I didn't make it so it was hard all the way through as I like a really soft meringue. It's really up to you how long you cook it for if you want it firm or gooey and fluffy.
 
Leave the meringue to cool completely in the oven with the door shut. I made mine the day before and just left it in the oven overnight.
 
For the chocolate and chestnut cream, whip the cream with an electric mixer until soft peaks are formed. You don't want it too firm as you'll find it difficult to mix everything together and it won't be as soft. The chocolate will firm up the mix when it sets anyway so don't worry about it being soft. You want the cream to hold its shape but without being stiff.
When the cream is softly whipped, fold in the chestnut puree. I did this in two batches to fold it in without knocking too much air out.
Melt the chocolate in a bowl over a pan of simmering water. You want to leave it to cool slightly before mixing it through the cream.
When slightly cooled, fold in most of the chocolate, leaving some in the bowl to drizzle on top later.
Taste the cream and add sifted cing sugar to taste if it needs it. Remember the meringue will be sweet so don't overdo the sugar!
Spread the cream over the cooled meringue, top with the almonds and drizzle with the remaining chocolate.


Tips
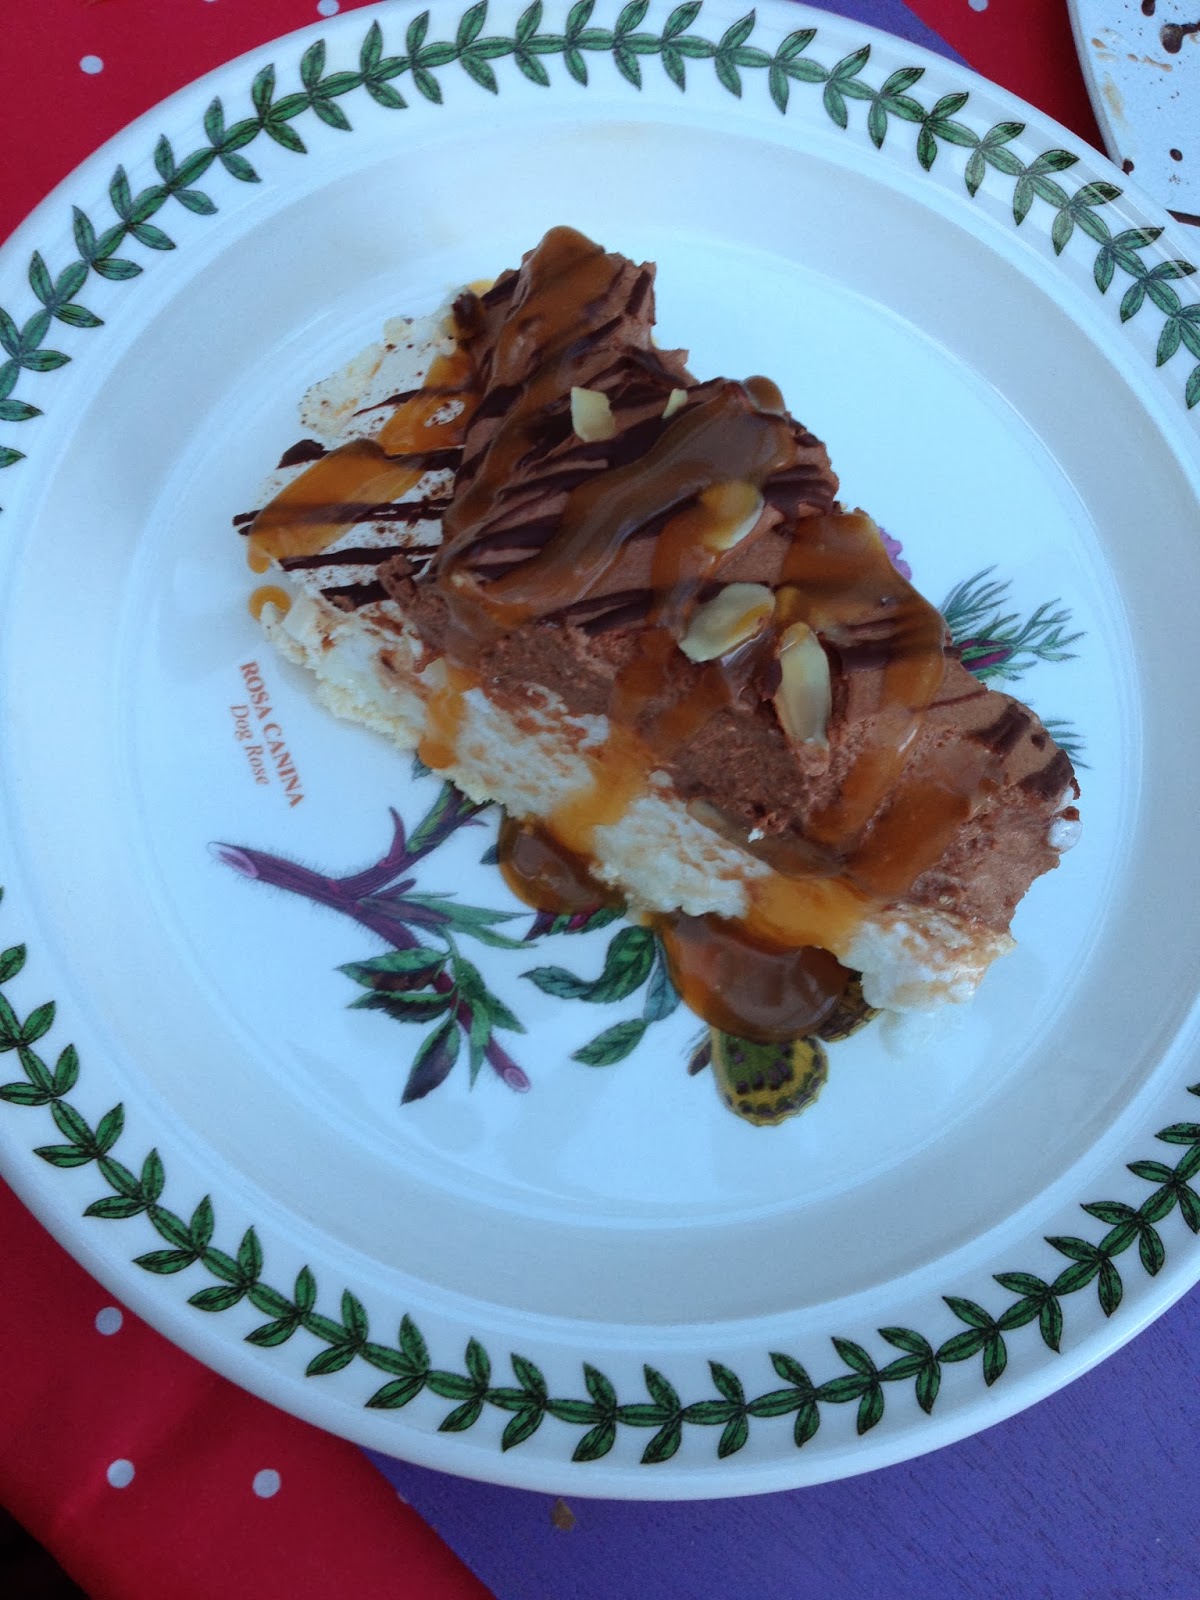
I served it with a salted butterscotch sauce which went really well considering I didn't add icing sugar to the cream. It really offset the bitterness of the chocolate. Everyone else seemed to enjoy the 'darkness' of the chocolate but I found it a bit too overpowering so added some milk chocolate to the recipe too.
Make the meringue a day ahead and leave airtight to save time. It makes it a really quick, simple dessert to assemble if all you have to do is make the chestnut cream!
Dust the meringue with cocoa powder if you want to decorate it a bit before you add the chocolate cream. If you couldn't tell before I tend to overdo the chocolate content...
Toast the almonds in a dry pan over a low heat. It's really easy to burn them so keep an eye on them!
Stick the baking paper to the tray with blobs of the meringue.. it stops the paper flying up and sticking to the meringue if you have a powerful fan!


Saturday, 22 June 2013

The Best Lemon Drizzle Cake EVER!

Okay, so I'm not the biggest fan of lemon cakes. I can take or leave them unlike most other cakes. This one however, is a hit with everyone. It reminds me of my childhood and standing on a stool in the kitchen with a wooden spoon with my mother and making it the old fashioned way. I still make this on a regular basis and its definitely a hit with the whole family.
The recipe came originally from a lady called Margaret who my parents met in the SCBU facility in the hospital I was born in. I was in the neonatal unit for a short while and it was there that my mum befriended Margaret, grandmother to another baby there (who I think was called Joshua). She made this cake one day and then gave my mum the recipe after it was such a hit. Every time I make it I think of the emotional turmoil it must've helped my parents through, and have therefore dubbed it the all-healing, miracle lemon cake. If you make it you'll realise that it's not an exaggeration; it really is pretty special!!
 
I usually make this in a 2lb loaf tin but have also tried making cupcakes with it which also went down a treat!


It's a really simple method too:
  1. In a bowl cream 110g butter (or Stork) and 110g sugar together until light and fluffy.
  2. Beat 2 eggs in a bowl and weigh out 175g of self-raising flour.
  3. Add the flour and beaten eggs alternately until you've incorporated both.
  4. Add in the zest of a lemon and mix through.
  5. Pour the mixture (it's quite thick so don't be alarmed) into a 2lb loaf tin and bake  at 180 degrees Celsius for 30-40 minutes until a skewer comes out clean. If you're making cupcakes they obviously won't take that long, I'd try them for about 18 minutes then keep checking. I'd also recommend turning the oven temperature down to around 160.
 
While the cake is in the oven, combine the juice of the lemon with 4 tbsp. of  icing sugar and mix until smooth. It's a VERY runny icing so don't be tempted to add more icing sugar!
When the cake comes out of the oven, allow to cool for a few minutes then while it is still hot pierce several holes in the top of it using a skewer. Pour the icing over and allow it to soak into the cake.
Allow the cake to cool in the tin.
When cool, slice it up into generous slices and enjoy a moist lemon cake with a perfect balance of sharp and sweet.
 
I've also made this cake and added fresh lemon curd into the middle of the batter before baking which works a treat. If not everyone's a fan of lemon curd, you could always spread some on after it's been baked and sliced (any maybe add some clotted cream if you're feeling really naughty!).
 
It's definitely a favourite in our family so I hope you enjoy it just as much!


Beach Baby and Frog Cupcakes

I made these a few years ago for a party in the summertime. I made the beach baby just because they were seasonal and the frog ones were made because they were just so cute! I got the idea from a book from the Australian Women's Weekly that I picked up there on holiday once. They're so simple but look soooo cute!! One batch of icing (listed on a previous post) is plenty to cover two batches of cupcakes as each one doesn't require anywhere near as much frosting as they would if you were piping it!
 
The beach baby ones were so simple. I just made a vanilla cupcake batter and a batch of vanilla buttercream and sprinkled over some light muscavado sugar to resemble sand. I topped them with a Liquorice Allsort beach mat and a jelly baby to be my little sunbather. I didn't have any cocktail umbrellas (or I'd have used them) to be parasols so had to improvise with some petit four cases and cocktail sticks, secured together with a small blob of fondant.
 
The frog cupcakes are even simpler! I baked a batch of vanilla cupcakes and used the vanilla buttercream with a few drops of green food dye. I just spread the icing on top, sliced up a few marshmallows and stuck some blue Smarties to them when they were still sticky. You may need to snip a flat bit off the bottom of the marshmallow slices if you don't have a thick layer of icing or the 'eyes' don't stand up properly.


They're really simple cupcakes to both make and decorate and are sure to go down a hit with children and anyone who appreciates all things quirky and cute. They're also great to make with children!
 
I hope you give them a go!