Wednesday, 8 January 2014

Blueberry Buttermilk Pancakes

I made these for breakfast for my mum when we went on a weekend away to West Wales. I had to wing it as I didn't have scales or a whisk but if they turned out as well as they did despite that, then having the right tools will only increase the chances of this being an idiot-proof recipe! They're really simple and taste really good. I serve them in a big fat stack with lots of maple syrup. They're best eaten straight out of the pan but I've also microwaved them after they've cooled when I'm ready for round two!
 
Ingredients
1 punnet blueberries
5 heaped tablespoons plain flour
1 pinch salt
1 egg
1 pot of buttermilk (about 254ml I think)
2 tbsp melted butter
1 tsp salt
1 tsp bicarb
 
Method
1. Mix the dry ingredients together in a bowl.
2. In a jug or small bowl, stir the wet ingredients together with a fork.
3. Add the wet to the dry ingredients and mix until combined.
4. Over a low heat, dollop in tablespoons of the mixture. Top each blob of batter with some blueberries.
5. When the tops of the pancakes bubble, flip them over.
6. Eat hot with lots of maple syrup!
 

Tips
Don't have your pan too hot as the outsides will cook really fast and you'll have raw dough in the middle. They're fine to take their time over a low heat. If you do happen to have them undercooked, blast them in the microwave for 30 seconds and they'll be cooked throughout.


Rosewater Turkish Delight

I guess this is like the sweet version of Marmite. I happen to love Turkish Delight, everyone else in my house hates it. My aunty only likes the ones that aren't covered in chocolate and considering I'd never made it, I decided to give it a go for her Christmas present as I love giving homemade gifts. It was a real success overall! It's also not as hard as you might think....
 
This is the recipe I used. I'll link it straight up as I didn't tweak it at all and it's simple enough to follow. I haven't tried it with lemon but I'm definitely going to. I also want to try it with orange and pistachio as I think that'd be really nice.
 
Here are the photos of the process of making it.
I'm not sure if I boiled it too vigorously as it seemed to be really airy and formed a crispy film over the top when I poured it out. Once I'd dusted the cubes with sugar it didn't really matter but it really bothered me (insignificant a flaw as it may seem to others) so I'm determined to find out why and remedy it before I make more!

It's reeeeeeeeally sticky so getting it out of the dish and into the little cubes is a nightmare. I don't think cling film would work as the mix is soooo hot when you pour it out I don't think cling film would stand a chance. You could try greaseproof or foil but they'd leave ridges in the final product and I'm far too much of a perfectionist for that to be okay!
It's sticky and feels like it doesn't want to come out, but get a palette knife and show it who's boss!! I started in a corner and just worked my way through the tray in rows. It's resilient stuff so don't be afraid to be a bit rough with it to get it out. It'll ping back to it's little cube :)

I hadn't made it before and there don't seem to be many recipes out there, not ones as simple as this anyway. I hope that it helps knowing where I went wrong!
It's really not as hard or labour-intensive as you think and if you're a fan of rosewater definitely give it a go! If everyone else hates it, look on the bright side... more for you!!


Coconut and Lime Rice Pudding

This is a super simple recipe but always seems to go down well. I make it with coconut milk instead of milk and really you can just leave it to bubble away itself with the occasional stir. I usually make it with pudding rice but have also done it with risotto rice as I saw someone on TV use Arborio rice with rice pudding and that worked well too.
 
Ingredients
1 cup pudding or risotto rice
Zest of 1 lime
1 tin coconut milk
1 tsp vanilla bean paste
3 tbsp caster sugar (or to taste)
 
Method
1. Put everything into a heavy-based saucepan except for the sugar. Slowly bring to the boil.
2. Stir occasionally until the rice has absorbed all of the milk and is tender. If the liquid is absorbed before the rice is cooked, add a little milk to the pan.
3. When the rice is cooked, stir through the caster sugar and serve. Simple eh?!
 
Tips
Shake the can of coconut milk before opening it as it often separates.
Use low-fat coconut milk if you don't want to use the normal stuff - I only ever use the reduced fat one.
You don't need much sugar at all! The coconut adds a lot of flavour and sweetness to the rice.
Add some orange zest too if you want to add more flavour or some chopped dried apricots as they get really puffed up and juicy. Also, topping with some toasted coconut and serving with fresh fruit makes it more of a dessert and less of a comfort food. There's no judgement if you eat it straight out of the pan though!!


Chocolate and Chestnut Meringue

I made this instead of traditional Christmas desserts this year. I know it can be considered blasphemous but I don't really care. I'm not a massive fan of raisins so Christmas cake and pudding really do nothing for me. I'd never tried chestnuts before and Waitrose had tins of chestnut puree on offer so I decided to get one and try something with it. I think they're an acquired taste despite not being too flavourful and overpowering but with the addition of chocolate went down very well indeed!

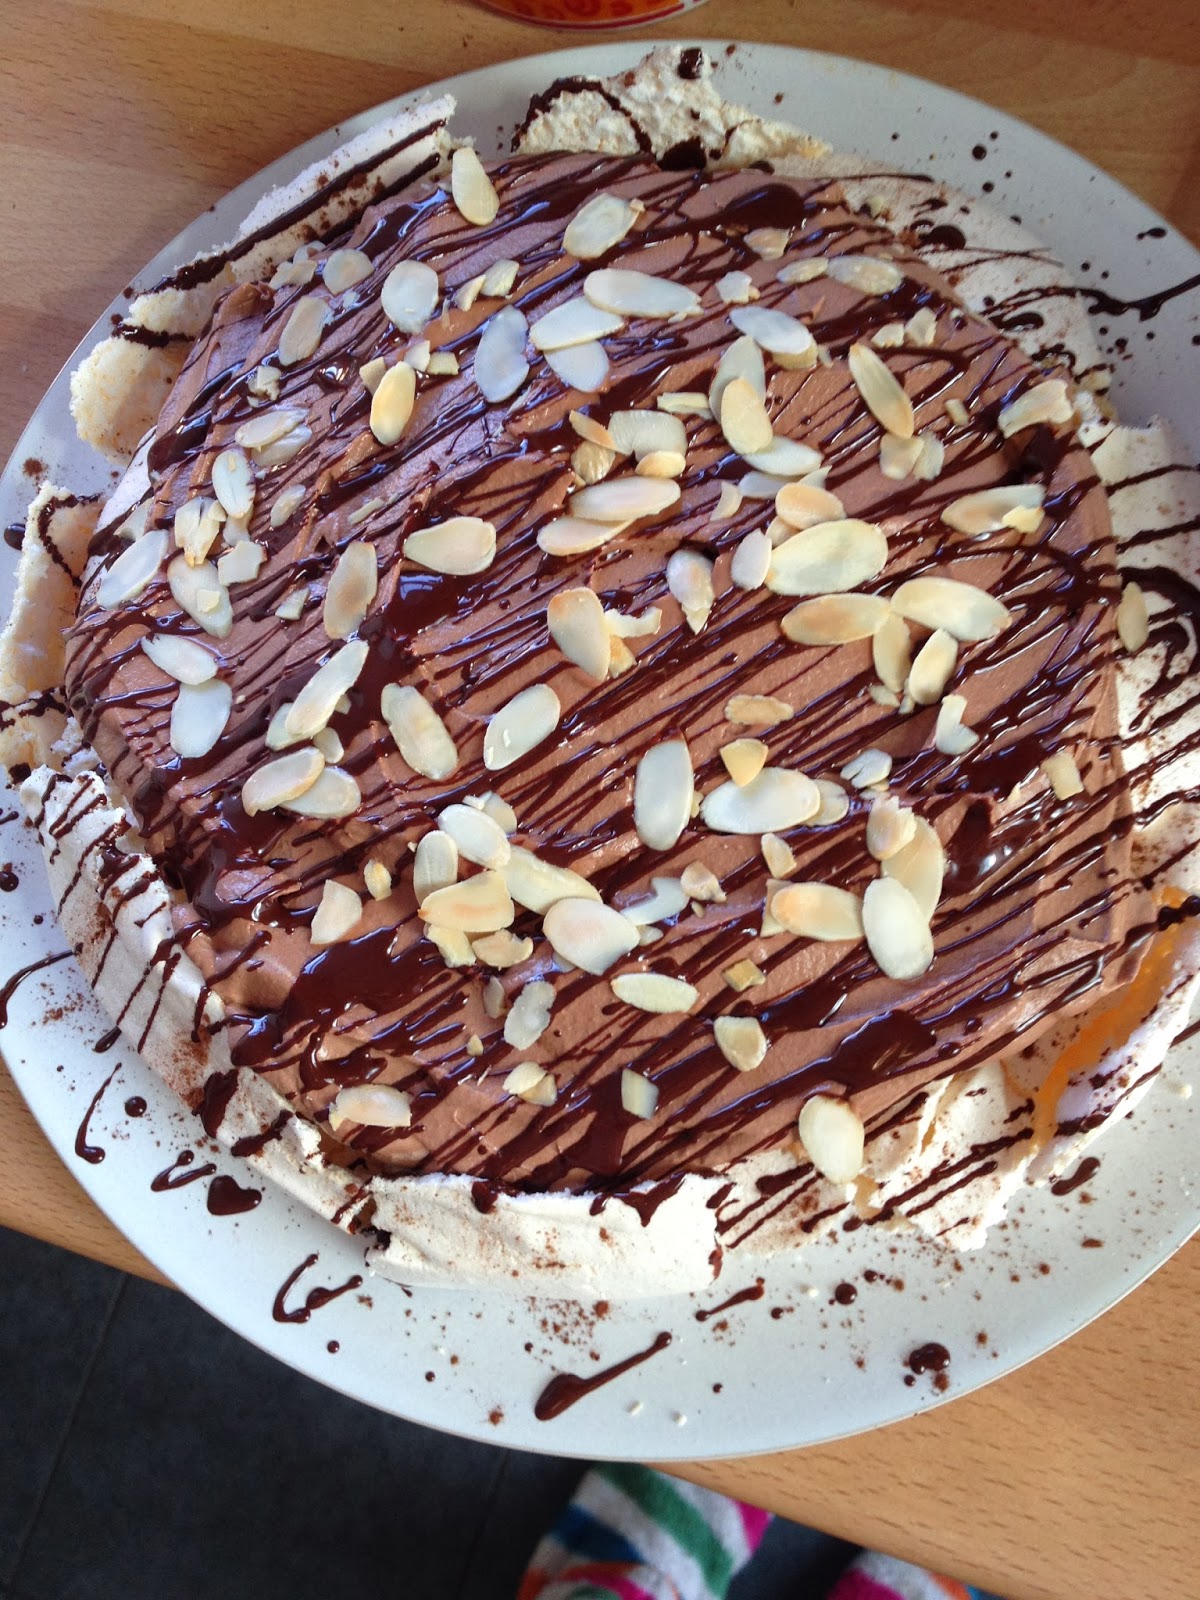
This is the finished result. Not bad for a bit of experimentation eh?! It's a simple meringue base with a chocolate and chestnut cream, topped with toasted almonds and drizzled with chocolate. I can't remember exact quantities as to be honest, I didn't measure anything! It was all just a bit of judgement and chucking a few things together and seeing what happened.
 
Ingredients
6 egg whites
350g caster sugar
Pinch of salt
 
1/2 tin chestnut puree
Large tub of double cream
Icing sugar to taste (a few tbsp)
200g good quality dark chocolate
100g good quality milk chocolate
Small handful toasted flaked almonds
 
Method
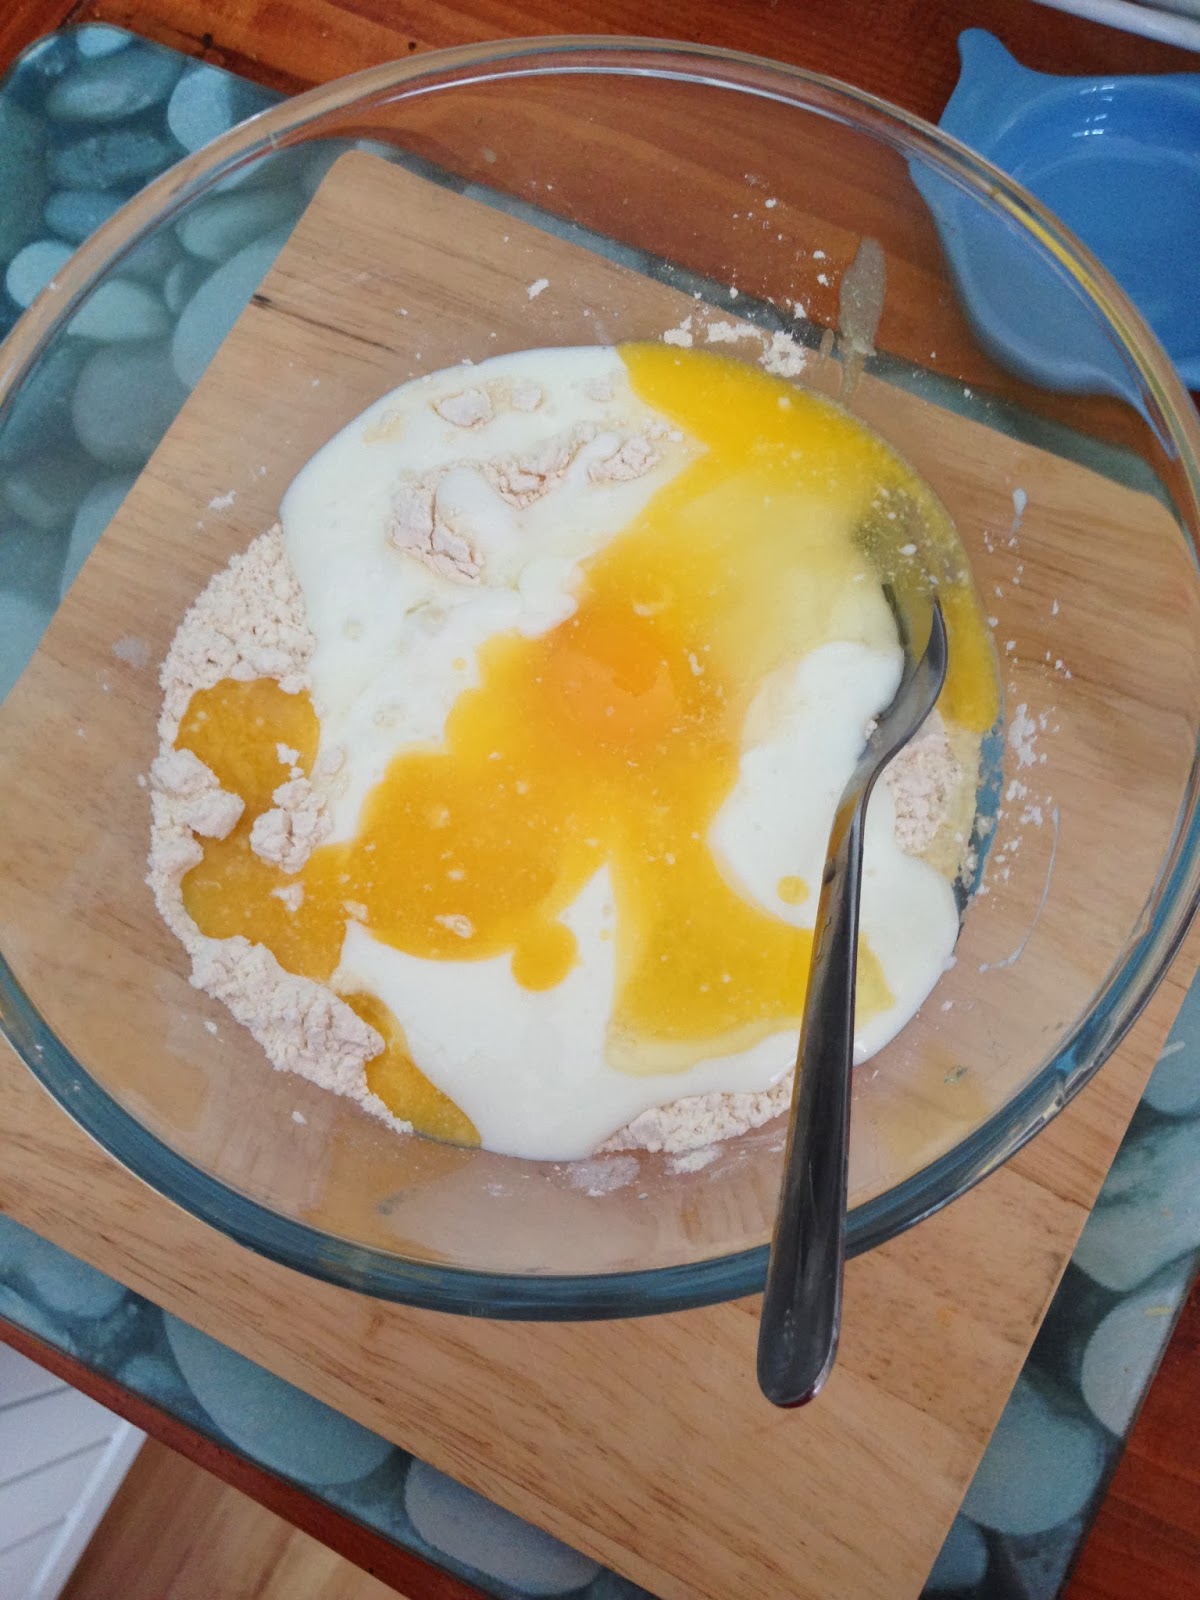
1. Start by whisking the egg whites in an electric mixer with a pinch of salt. When they form soft peaks, add in the sugar a tablespoon at a time with the mixer running. When you have a firm, glossy meringue, stop mixing.
2. Spread the meringue out in a large circle on some baking paper. I did this freehand and just got it as circular as I could but if you're not too good at it draw around a plate on the reverse of the baking paper to give you a guide.
3. Bake at 140 degrees Celsius for 45 mins to an hour until firm and then turn the oven down to about 80 and leave it in there for about another hour to cook through. I didn't make it so it was hard all the way through as I like a really soft meringue. It's really up to you how long you cook it for if you want it firm or gooey and fluffy.
 
Leave the meringue to cool completely in the oven with the door shut. I made mine the day before and just left it in the oven overnight.
 
For the chocolate and chestnut cream, whip the cream with an electric mixer until soft peaks are formed. You don't want it too firm as you'll find it difficult to mix everything together and it won't be as soft. The chocolate will firm up the mix when it sets anyway so don't worry about it being soft. You want the cream to hold its shape but without being stiff.
When the cream is softly whipped, fold in the chestnut puree. I did this in two batches to fold it in without knocking too much air out.
Melt the chocolate in a bowl over a pan of simmering water. You want to leave it to cool slightly before mixing it through the cream.
When slightly cooled, fold in most of the chocolate, leaving some in the bowl to drizzle on top later.
Taste the cream and add sifted cing sugar to taste if it needs it. Remember the meringue will be sweet so don't overdo the sugar!
Spread the cream over the cooled meringue, top with the almonds and drizzle with the remaining chocolate.


Tips
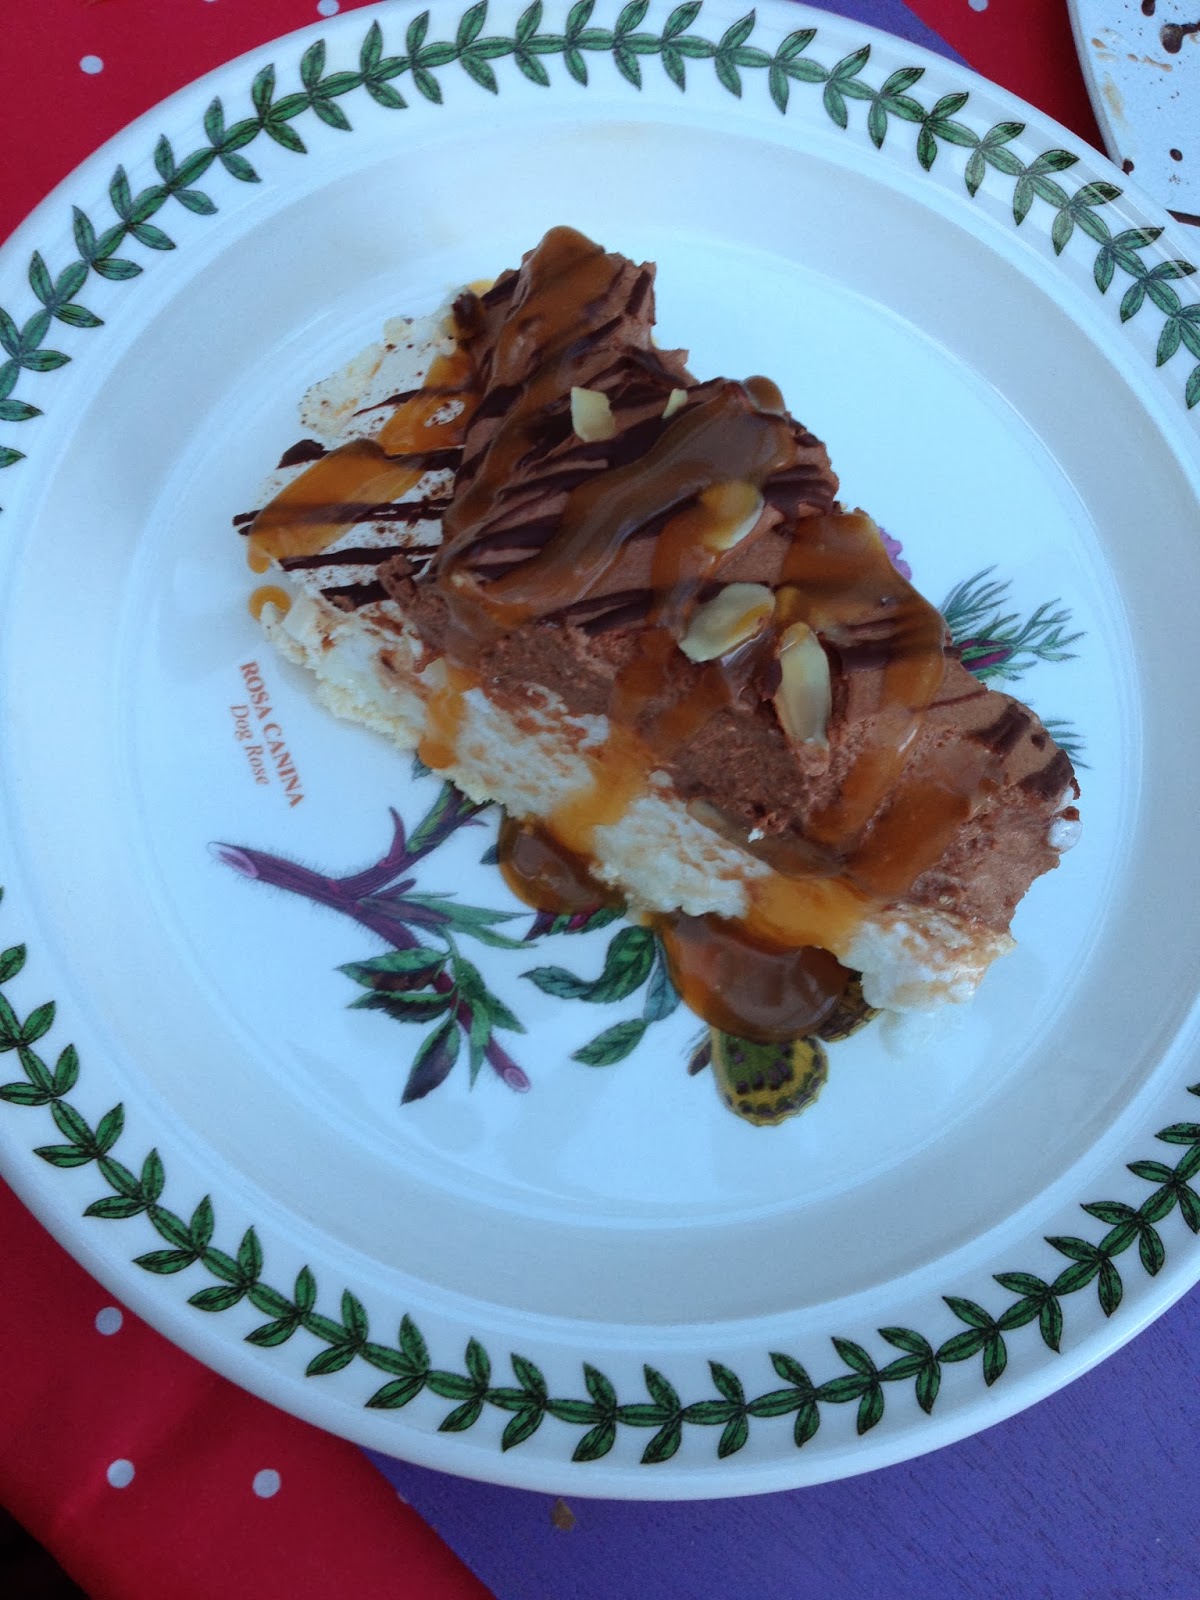
I served it with a salted butterscotch sauce which went really well considering I didn't add icing sugar to the cream. It really offset the bitterness of the chocolate. Everyone else seemed to enjoy the 'darkness' of the chocolate but I found it a bit too overpowering so added some milk chocolate to the recipe too.
Make the meringue a day ahead and leave airtight to save time. It makes it a really quick, simple dessert to assemble if all you have to do is make the chestnut cream!
Dust the meringue with cocoa powder if you want to decorate it a bit before you add the chocolate cream. If you couldn't tell before I tend to overdo the chocolate content...
Toast the almonds in a dry pan over a low heat. It's really easy to burn them so keep an eye on them!
Stick the baking paper to the tray with blobs of the meringue.. it stops the paper flying up and sticking to the meringue if you have a powerful fan!


Monday, 5 August 2013

Simple Homemade Pizza

I never usually make my own pizza bases but after seeing Buddy from Cake Boss (on his Kitchen Boss show) make them, I decided to give them a go. I've done them before with a packet of base mix but decided it was lazy and unnecessary if the ingredients in the dough were so simple anyway. It's really easy to make and it does take a longish time but most of that time is spent on the dough proving so the actual effort is minimal.


Ingredients - Pizza Bases
3 1/4 cups plain flour
3/4 tsp dried yeast
1 1/2 tsp salt
2 tbsp olive oil
1 1/3 cups warm water

Method
1. Put the ingredients into a mixing bowl (place the yeast and salt at opposite sides of the bowl) and mix with a dough hook until a dough is formed. 

2. Knead the dough until it is elastic and smooth (it can be done in the mixer but you can over-knead it so unless you watch it carefully do it by hand as you can't overdo it and it's good stress relief!). 
3. Place the dough into an oiled bowl and cover with cling film or a tea towel. Leave to prove for about an hour until doubled in size. 

While the dough is proving, make the tomato sauce. Using a tube of tomato puree is super simple but this tastes so much better and really doesn't require much more time!

Ingredients
1 tin of tomatoes
2 cloves garlic
2 pinches salt
1 tsp sugar
1/2 cup grated parmesan
lots of black pepper

Method
1. Put ingredients in a food processor and blend until smooth. Simple eh?!

When the dough has doubled in size, take it out of the bowl and knead it again. Divide it up into three balls and place on a floured baking tray. Leave to prove again for another hour.

Once the dough has proved again, roll out into about 10" bases. Place on baking sheets and leave for about 10 minutes to rise again slightly.

Ladle over the tomato sauce and top with mozzarella and whatever other toppings you want. I made one with goats cheese, red onion, black olives and spinach and one with just mozzarella, fresh spinach and some herbs. 
Bake at 260 degrees Celsius for 7-10 minutes depending on how thick your base is.  

Tips
Use any toppings you want - prosciutto and mushroom is really tasty too!
You can put fresh spinach on before cooking and it wont burn onto the pizza.
Lots of mixed herbs make it really tasty!
Make all three up instead of dividing the recipe and freeze the pizza to have at a later date.
Use proper mozzarella cheese, not cheddar!!

Simple Strawberry Cheesecake

This recipe came about as a result of a bit of late night experimentation when I had a craving for cheesecake. I didn't want a really heavy one so used fat-free Greek yoghurt and light Philadelphia cream cheese. I've made it since without the biscuit base and for some reason I can justify eating a lot more of it to myself as the base is where the 'bad' things are. It's not really heavy like other cheesecakes and I'm sure it's MUCH lighter on the calories and fat too so I consider it semi-healthy (not that I need much persuasion for a good cheesecake!!). I added a load of strawberries to it but if you wanted to add something else instead or leave it as a plain vanilla one it'd work just as well. This recipe makes around enough for a standard sandwich tin sized cheesecake (about 12cm I think). I had to improvise and use a bigger rectangular one as my baking stuff is packed in the attic of the new house I've moved into and I was too lazy to go and dig it out. If you have too much mixture just put it into a ramekin and bake by itself.
I find the Greek yoghurt makes the cheesecake really creamy but stops it from being too heavy. It's such a simple and quick recipe and requires minimal effort. 


Ingredients
200g digestive biscuits, crushed
50g melted butter
200g fat free yoghurt
200g light cream cheese
2 eggs
4-6 tbsp icing sugar (to taste)
1 tsp vanilla extract
1/2 punnet chopped strawberries (optional)

Method
1. Preheat the oven to 140 degrees Celsius.
2. Mix the butter and biscuits together and press into a tin (I had to improvise as I didn't have the usual sandwich sized tin so used a bigger rectangular one which made a bigger but thinner base). Bake for 5 minutes.

3. Mix the rest of the ingredients in a bowl. Be careful not to overmix it. 


4. Add the cream cheese mixture to the top of the biscuit base and bake for 25 minutes at 120 degrees Celsius until firm on top but with a slight wobble.
5. Remove from the oven and leave to cool.

Tips
- It works really well with raspberries and white chocolate chunks!
- It tastes better cold. I was really impatient and tried to eat some before it was cool and despite still being good, it was much better after I'd waited for it to cool down. 


Monday, 1 July 2013

Chocolate Peanut Butter and Marshmallow Fluff Cupcakes (Chocolate Fluffernutters)

My little brother is currently going through a phase where he's eating a LOT of peanut butter. I wanted an excuse to use my blowtorch so decided to make these cupcakes as something a bit different. 
I started off with a chocolate cake, dolloped crunchy peanut butter into the batter before baking and topped it with some homemade marshmallow fluff.


For the chocolate batter, I used the vanilla recipe but substituted 20g of the flour for cocoa powder. It's really simple to do and gives a good result. 
In a bowl I mixed 40g margarine, 140g caster sugar, 100g self-raising flour, 20g cocoa powder and mixed until it resembled fine breadcrumbs. 
I then mixed an egg with 120ml of milk in a bowl and added half of the mixture to the 'breadcrumb' mixture. 
Once combined, add the rest of the eggs and milk and mix until smooth. 
Spoon the mixture into 12 cupcake cases and add a teaspoon of peanut butter to each cake case.
Bake for about 16-18 minutes at 160 degrees Celsius. 
Allow to cool completely. 

To make the marshmallow creme you need:
2/3rds cup water
1 1/2 cups sugar (plus 2tbsp caster sugar)
3 egg whites
Pinch salt

Method:
1. Put the water and the 1 1/2 cups sugar in a heavy based saucepan. Bring to the boil and boil to 240 degrees Farenheit while you get on with the egg whites.

2. Whisk the egg whites with a pinch of salt until they form soft peaks then add in the 2 tbsp of caster sugar. 
3. When the sugar reaches 240 degrees, slowly add the sugar to the egg whites in a continuous stream while the mixer is still running. This is easiest in a freestanding mixer like a KitchenAid but works fine with a handheld one.
4. Continue to whisk the mixture on high speed for about 6-8 minutes until really thick and glossy and it resembles marshmallow fluff. It'll go really thick and 'gloopy'.


To put the cupcakes together, fill up a piping back with the marshmallow creme (or if you don't have one use a sandwich bag as I did as I don't have a piping bag at my parents' house) and pipe onto the cakes in a swirl. 

Next, toast your marshmallow lightly with a blowtorch. It's not imperative and it's perfectly fine un-toasted but I love the finish it gives and using the blowtorch.


I topped my cakes with half of a Reese's peanut butter cup and a chocolate covered peanut but you really could use whatever you wanted.

It's a simple recipe and a messy cake to eat. Prepare for a white face as the marshmallow goes everywhere!


This marshmallow creme is also good on top of s'mores cupcakes (or basically anything). I love it!!